Q
Ok so its cool to have a programmer (http://www.dorkbotpdx.org/blog/feurig/dorkbotpdx_arduino_programmer) that you can use standalone but what is the best way to know that the bootloader you just burned works?
AYou use it. |
|
I thought I would write this up for a couple of reasons. I recently did some work with getting the arduino to work with different hardware and in the process I learned a bit about modding the arduino environment. In particular I want to add the “Adaboot” bootloader to the arduino environment, use the burn bootloader feature which was added to version 0010, and test the bootloaders as I was burning them.
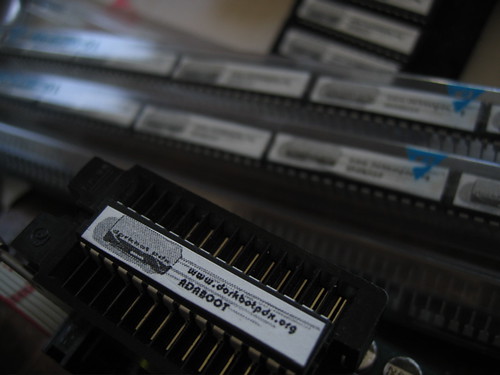
AdaBoot
The Adaboot bootloader is named after Limor Fried (AKA Lady Ada http://www.ladyada.net/) who made several enhancements to the stock Arduino bootloader. It is well described on the Modern Device Companies page http://moderndevice.com/bootloader.shtml and can be downloaded from wulfden http://www.wulfden.org/freeduino/ADABOOT.shtml. Both sell kits and processors which are preloaded with the adaboot bootloader, The board they sell is a less expensive version of ladyada’s boarduino (at http://www.adafruit.com).
This method works well because just like programming in Arduino language a lot of the gnarley details like fuse and lock settings are handled by the environment. The other nice thing is that you know that the bootloader works within the environment because you just tested it using the environment.
Moving the bootloader into place
When you unzip the archive from wulfden http://www.wulfden.org/freeduino/ADABOOT_7J04b.zip you will find the source code and a premade hex file for the 168 which is named “ATmegaBOOT_168_ng.hex” when you find the bootloader that comes with the arduino for the arduino_ng you will find that its also named “ATmegaBOOT_168_ng.hex” but as you can see from the table on modern device they are most definately not the same. So we are going to name our bootloader adaboot.hex and copy it into the bootloader section on our Arduino installation and then add it to the Arduino IDE.
$ cp ATmegaBOOT_168_ng.hex /Applications/arduino-0010/hardware/bootloaders/atmega168/adaboot.hex
$ cd /Applications/arduino-0010/hardware
$ cp boards.txt boards.txt.stock
$ open boards.txt
On the mac this last command will bring up the boards.txt file in TextEdit. Copying the code from the decimillia we will create a section with our new bootloader. (the board itself is not important as long as it has the same crystal and processor).
##############################################################

dorkbotpdx.name=Dorkbotpdx Arduino Kit
dorkbotpdx.upload.protocol=stk500
dorkbotpdx.upload.maximum_size=14336
dorkbotpdx.upload.speed=19200
dorkbotpdx.bootloader.low_fuses=0xff
dorkbotpdx.bootloader.high_fuses=0xdd
dorkbotpdx.bootloader.extended_fuses=0x00
dorkbotpdx.bootloader.path=atmega168
dorkbotpdx.bootloader.file=adaboot.hex
dorkbotpdx.bootloader.unlock_bits=0x3F
dorkbotpdx.bootloader.lock_bits=0x0F
dorkbotpdx.build.mcu=atmega168
dorkbotpdx.build.f_cpu=16000000L
dorkbotpdx.build.core=arduino
When you reload your arduino software the new “board” will show up like this.
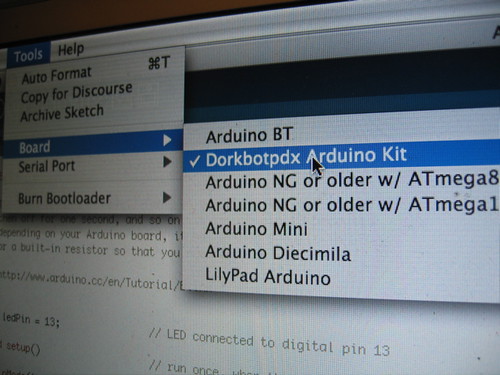
Burning it using the IDE
Select the new board.
Select the serial port used by your arduino
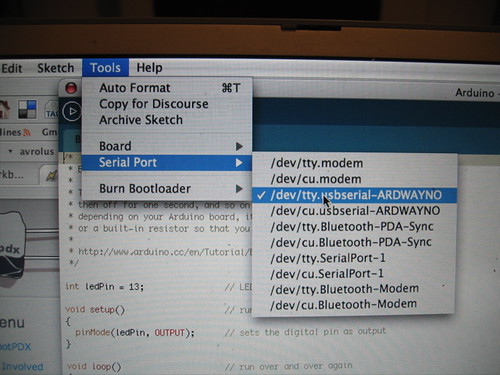
(I will blog later about why mine shows up as /dev/tty.usbserial-ARDWAYNO)
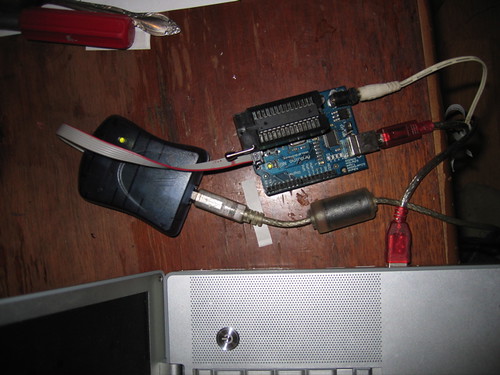
Attach your programmer
and select burn bootloader from the tools menu.
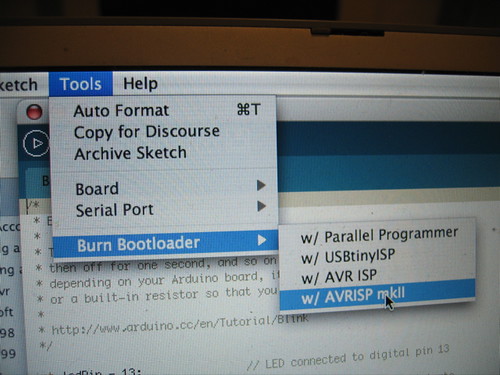
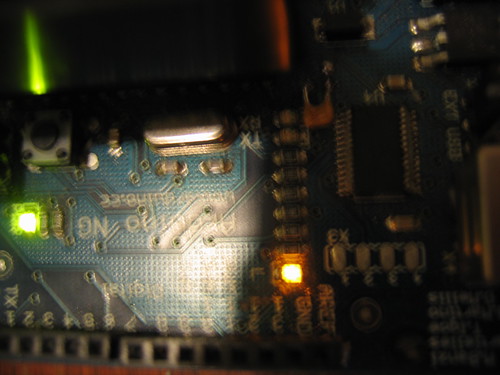
If all is well it will tell you its done burning the bootloader. Also you will notice that the led on pin 13 says hello (flashes) when you reset the board.
Testing it using the IDE
Now load up the blink program from the examples and push the “upload to I/O board” button.
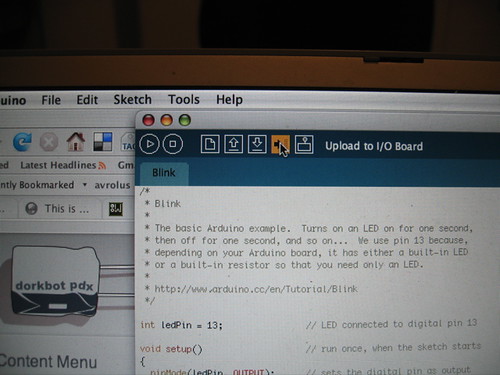
You should notice that the led pin on 13 flashes while it uploads
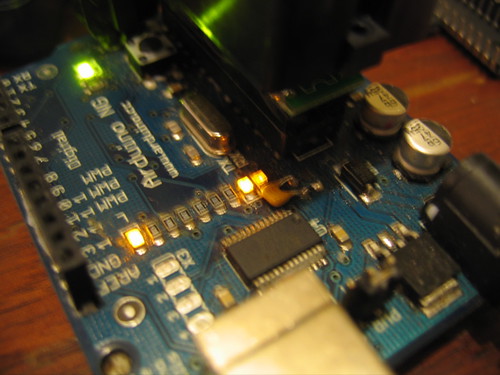
If all is well it will tell you its done.
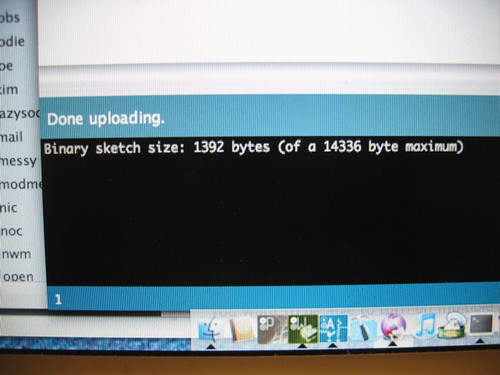
And so will your board.